Getting AI Stems Into Ableton Without Ruining the Mix
Export the finished mix from your generator as a 24-bit WAV, split it into four stems — vocals, drums, bass, other — then drop each stem on its own audio track in Ableton with warp off, gain matched against the original, and the untouched full mix parked on a muted reference track. That is the whole job, and those four conditions are also the whole quality check: when they hold, the separated version behaves like the track you generated. When one of them is skipped, the mix comes apart in predictable ways. Below is the full step-by-step workflow, the settings that actually matter, and the four places where stem separation quietly damages audio.
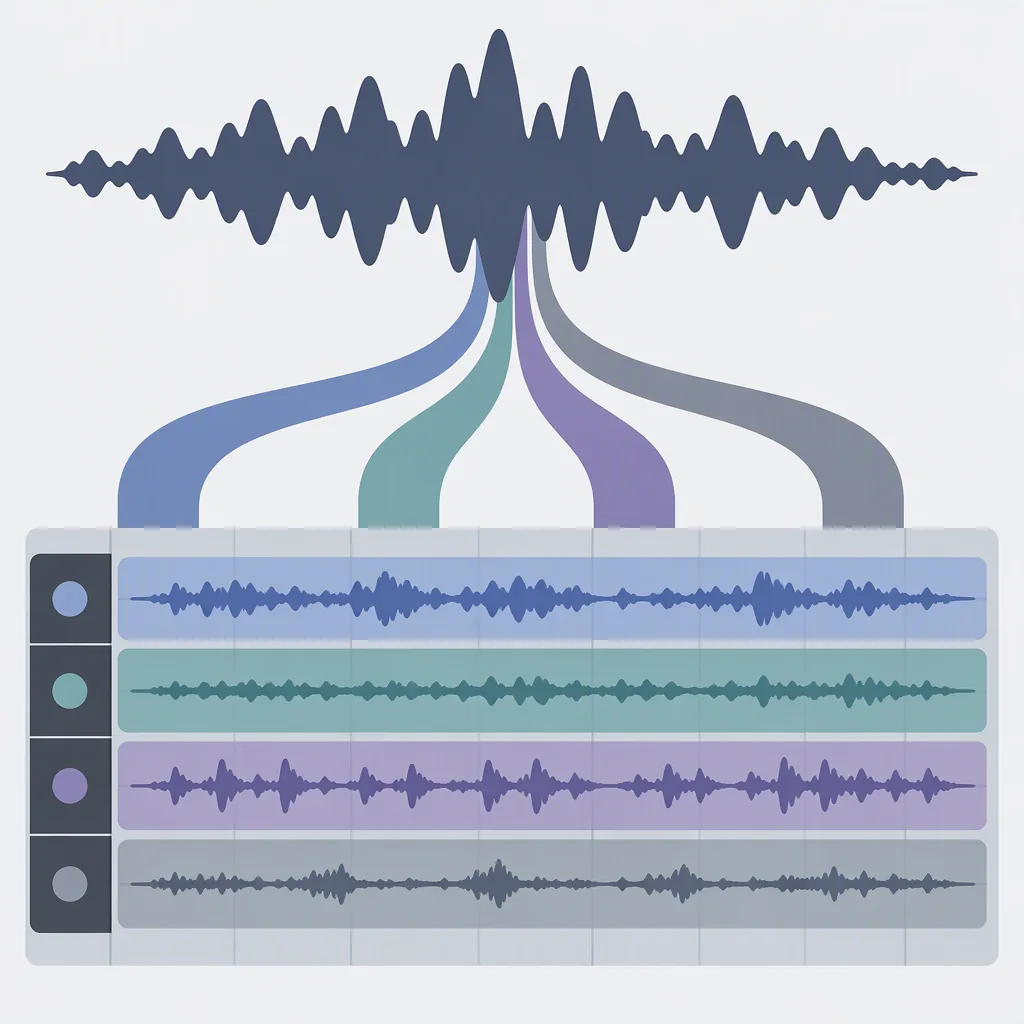
Why split into stems at all
A finished AI track arrives as one baked file. That is fine until you want to change one thing inside it. Stems exist so you can work on one element without touching the rest:
- Fix one bad element without regenerating. A vocal that sits too loud, a bass that swamps the kick — these are mixing problems, not generation problems, and regenerating the whole track to solve one of them wastes the parts that were fine.
- Remix or re-contextualise. Same vocal line, different backing. Same drums, different key.
- Sample a single loop. Four bars of the drum stem is a usable building block; four bars of full mix is not.
- Prepare a performance version. An instrumental bed for a live take, or a backing track with the lead pulled down, needs the vocal on its own fader.
- Troubleshoot the generation itself. Listening to the drum stem alone tells you whether the rhythm problem is in the pattern or in how it was mixed against the bass.
The converse is just as important, and it is the last section of this guide: if the track already works as a finished mix, splitting it adds work and risk for no gain.
What stem separation actually does
This is the part most people get wrong. Stem separation is not multitrack export. Your generator did not hand you the individual instruments; it handed you a mixed file, and a separation model estimates what each source probably sounded like from that mixture. The output is a reconstruction, not a recovery.
That distinction explains nearly every artifact you will meet. A model cannot know whether a mid-range tone is a guitar or a synth pad; it assigns it to whichever bucket best fits its training. The practical consequences:
| Stem | What belongs in it | What usually bleeds in |
|---|---|---|
| Vocals | Lead and backing vocal lines, vocal ad-libs | Sustained lead instruments that sit in the same band; reverb tails from the room |
| Drums | Kick, snare, hats, percussion, cymbals | Bass transients, plucky guitar attacks, shaker-like synths |
| Bass | Sub and low-mid bass line, 808 slides | Kick fundamental, low piano notes, warm pad fundamentals |
| Other | Everything else: pads, guitars, keys, strings, effects | Whatever the first three left behind, including partial vocal reverb |
The four-stem structure is the working standard across tools, and it is worth keeping those exact names as your Ableton track names. You will recognise the bleed pattern in the third column instantly once you start soloing, and knowing which direction the bleed runs saves you from "fixing" a problem that is actually another stem leaking in.
One more expectation to set: separation is fast. A typical short track processes in well under a minute on hosted tools, and a local model run on a laptop is a matter of minutes, not hours. If a step in your workflow is slow, it is the file handling around it, not the split.
Three ways to get stems in 2026
All three produce the same four files. They differ in where the work happens, what you need installed, and what happens to your audio on the way.
| Route | Where it runs | What you need | Best for |
|---|---|---|---|
| Native separation in Ableton Live Suite | Inside the session, no file round-trip | A Suite licence on a recent version of the 12.x line | Anyone who already runs Suite and wants stems without leaving the project |
| A stem-splitting plugin in the DAW | Inside the session as an audio effect | A third-party plugin installed and scanned | Standard and Intro users who want in-place splitting, and anyone who splits often |
| Online splitter | Export, upload, download, re-import | Nothing installed; your audio leaves the machine | One-off splits, or machines too slow to run a model locally |
If you would rather split inside the session instead of bouncing files through a browser, a dedicated plugin such as Lalal.ai stem splitting runs the separation as an effect and writes the stems back onto tracks, which removes the export-and-return trip entirely. That is a convenience choice, not a quality guarantee — the same artifacts below still apply, whoever does the splitting.
There is also a fourth route worth knowing about: running a separation model locally through a Max for Live device, which keeps audio on your machine and costs nothing beyond setup time. It is the slowest to get running and the most fragile across updates, so treat it as an option only if you split regularly and dislike uploading audio.
None of these routes is a substitute for a good export. The single biggest quality factor you control happens before any of them, in the next section.
Where the mix actually breaks
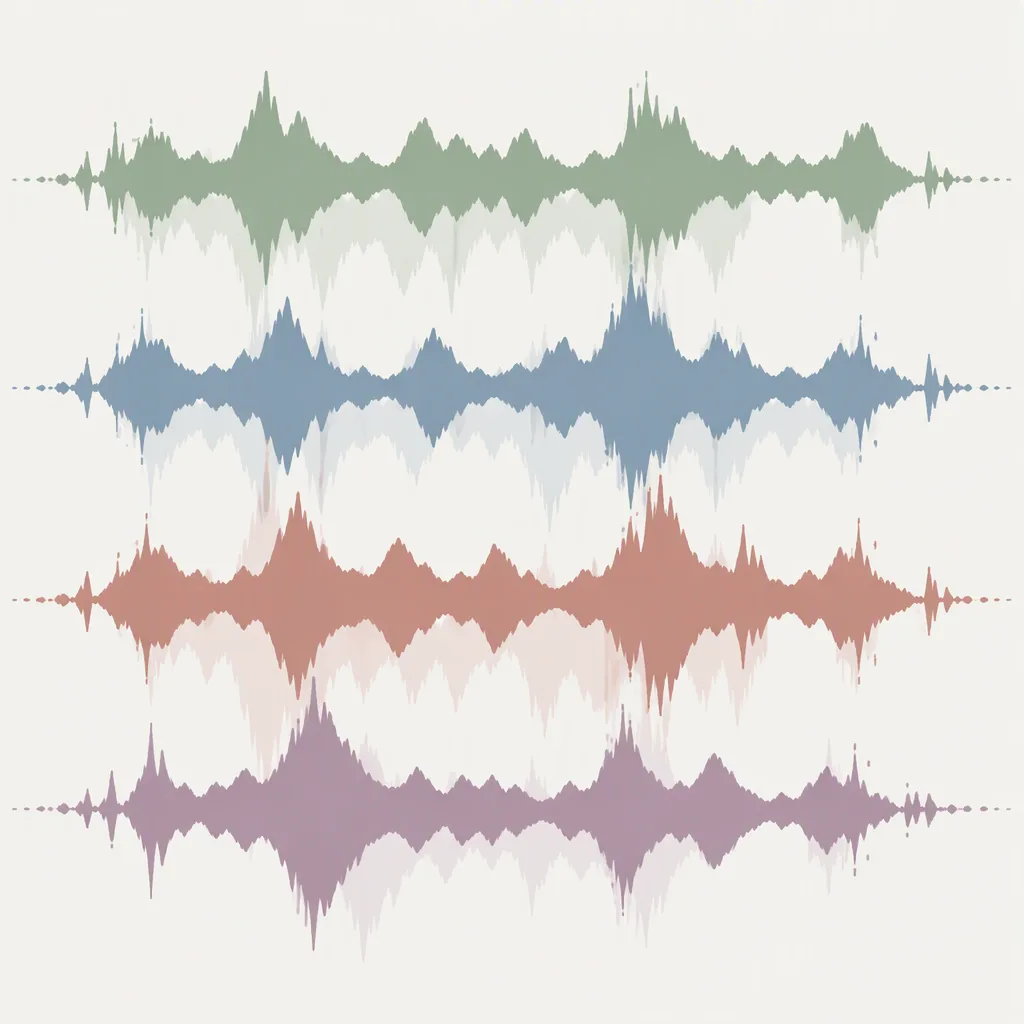
Four failure modes account for almost every "my stems sound worse than the original" complaint. Each has a visible signature, and each has a check you can run in under a minute.
| Symptom | What caused it | What to do |
|---|---|---|
| Vocal stem sounds hollow, watery, or phasey when soloed | Separation artifacts — the model filled gaps with estimates, and the missing energy went to "other" | Do not solo-judge a stem. Judge stems summed. If the hollow sound disappears in context, leave it alone |
| Kick loses weight once bass stem is added | Kick fundamental was split between drums and bass, so the two cancel where they overlap | High-pass the bass stem under the kick range, or duck bass with a sidechain keyed from the drum stem |
| Drums sound soft or smeared, especially hats and snare attack | Transients got averaged during separation | Add a transient-focused processor on the drum stem, or blend a small amount of the original mix back under the drums |
| Stems summed together sound thinner or duller than the original file | Sample-rate or bit-depth mismatch on import, plus small level differences per stem | Re-import at the original rate and depth, match gain per stem, then A/B against the reference track |
The first row deserves emphasis because it causes the most unnecessary work: a stem soloed in isolation always sounds worse than it does in the sum. Artifacts are largely complementary — what one stem loses, another keeps — so the honest test is the summed bus against your reference, never a soloed stem against your memory of the mix.
The clean import workflow
Run these in order. Steps one and two are where quality is won or lost.
- Export the original as 24-bit WAV at the same rate the generator produced. Not MP3, not a re-encoded file, not a render of a render. Any lossy step before separation gives the model less to work with, and the artifacts compound.
- Split once, into four stems, and keep the export format identical. Same rate, same bit depth, same file naming. Mixed formats are the usual cause of the dull-sum problem.
- Create four audio tracks and name them vocals, drums, bass, other. Colour-code them in the same order every project so your eyes find the right fader without reading.
- Import the untouched full mix onto a fifth track, mute it, and label it reference. This is the habit that catches every error below. It costs one track and one muted fader, and it is the only way to hear whether your stem bus has drifted.
- Turn warp off on all four stem tracks. These files are already at the project tempo you intend to use. Auto-warping a stem introduces timing error that no amount of mixing will fix.
- Set all four faders to unity and do not touch them yet. Separation should be roughly level-preserving; if it is not, that is information, and you want to see it before you correct it.
- Group the four stems to a single bus so any processing you add later hits the sum, not one element.
- A/B the bus against the muted reference track before you add a single plugin. If those two do not match closely, fix the import, do not mix around it.
Steps four and eight together are the whole trick. Almost every ruined stem mix I have seen was mixed by ear against memory, with no reference to compare against, which is how a two-decibel low-end loss turns into forty minutes of confused EQ.
The gain and phase check
Run this as a copy-paste checklist once the four stems are on their tracks. It takes two minutes and it is the difference between stems that behave and stems that fight you.
Stem import check

1. Solo drums + bass together. Kick should not lose weight.
   If it does: high-pass bass under the kick range, or sidechain bass from drums.

2. Solo vocals. Reverb tail should still be present.
   If it is missing: look in "other" before adding your own reverb.

3. Solo "other". Listen for leftover vocal fragments.
   If present: leave them. Removing them creates a hole in the sum.

4. Sum all four, A/B against the muted reference track.
   Match loudness first, then compare. If the sum is duller,
   check sample rate and bit depth on every stem before touching EQ.

5. Flip polarity on the bass stem and listen to the low end.
   If it gets fuller, keep it flipped. If it gets thinner, flip it back.

6. Only now: start mixing. Not before.
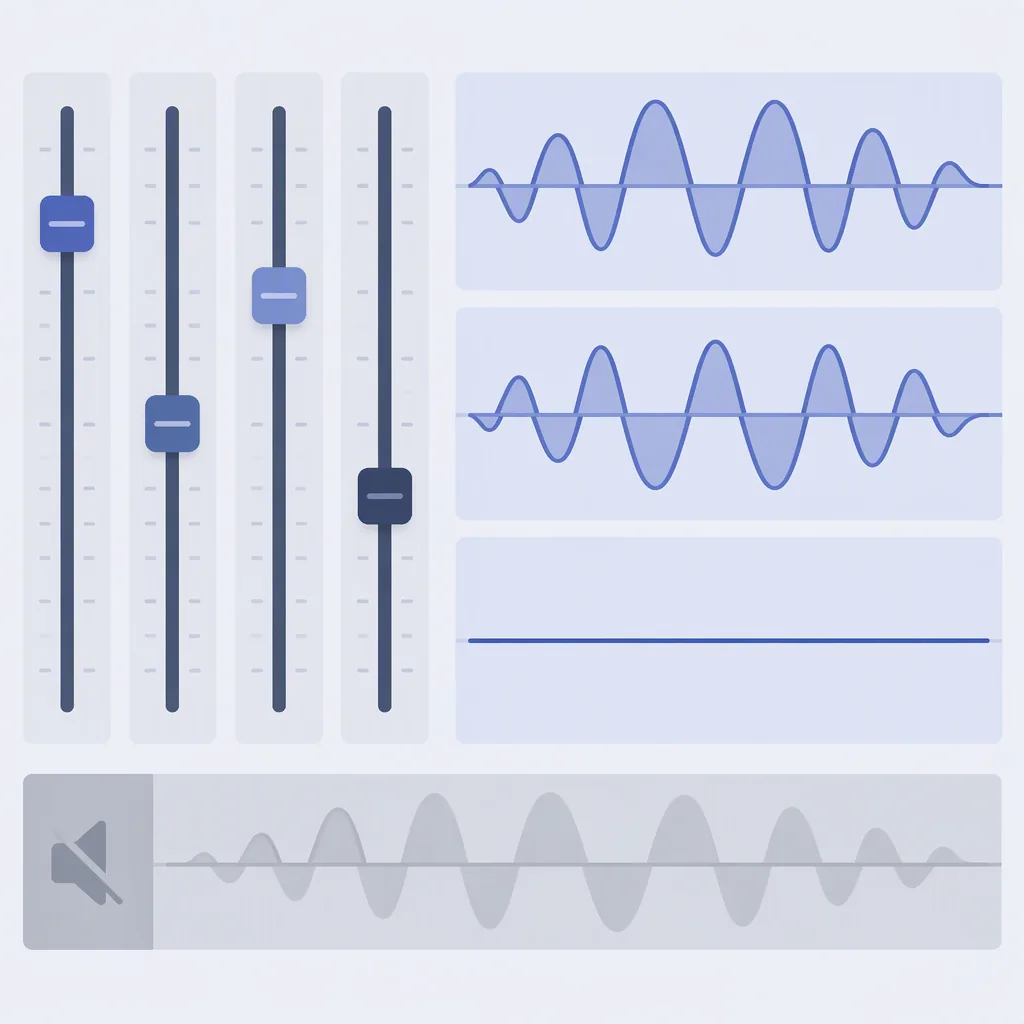
Step five is the phase check, and it matters more with separated stems than with normal multitracks. Because the bass and drum stems were estimated from the same mixed file, their shared low frequencies can arrive slightly out of alignment. Polarity is the coarse fix — a polarity flip on one stem is a single click — and the finer version is nudging one stem by a few samples until the low end stops fighting. Do the coarse one first; it is usually enough.
Keep the muted reference track in the project until the export is done. If a stem mix needs a second pass next week, that reference is what lets you pick up where you left off instead of guessing.
When stems are not worth it
Splitting costs you time, disk, and a little quality, and it earns that back only when you need to touch individual elements. Skip it when:
- The track already does its job as a finished mix. If you are dropping a full backing bed under a voiceover, stems buy you nothing.
- You only need a level or loudness change. Fix that on the full mix; it takes one plugin instead of four tracks.
- The problem is in the composition, not the mix. If a chorus never arrives or a section drags, no amount of stem work fixes a structural issue — go back and generate again with a clearer structure line in the prompt.
- The element you want is buried in "other". When the part you need shares a band with three other instruments, separation will not isolate it cleanly, and you will spend longer repairing artifacts than you would regenerating.
A useful rule: split when you can name the specific element you intend to change. If you cannot name it, you are splitting out of hope, and hope is an expensive mixing strategy.
Common questions
Can Ableton split stems by itself?
Live Suite includes native stem separation on recent versions of the 12.x line, so Suite users can split inside the session with no extra tool. Standard and Intro do not include it — those editions need either a plugin or an external splitter. Check your own version's feature list before buying anything, since feature sets shift between point releases.
Do I need a plugin to use stems in Ableton?
No. Suite users can split natively, and everyone else can split with a free external tool and import the resulting WAV files. A plugin buys convenience — no export round-trip, splitting stays inside the session — not a different category of result. If you split occasionally, the free route is enough.
Will stem separation hurt my audio quality?
There is always some change, because the stems are estimates rather than the original sources. How much depends on the source material: sparse, well-separated arrangements split cleanly, while dense mixes with overlapping instruments in the same frequency band produce more audible artifacts. The practical test is the summed-bus-versus-reference comparison in the checklist above, not a soloed stem.
What format should I export from the AI generator?
24-bit WAV at the rate the generator produced, ideally 44.1 kHz or higher. Never feed a lossy file into a splitter — the codec artifacts and the separation artifacts stack, and the result is noticeably worse than either alone. Keep the original file after splitting; you need it as the muted reference track.
Can I recombine the stems to get the original back?
Approximately, not exactly. Summing four good stems gets you very close to the original, which is why the summed comparison is the right quality check. Small differences remain in the low end and around transients, so treat the sum as a near-match rather than a bit-exact reconstruction, and keep the original file for anything you release unchanged.
Is splitting AI music allowed by the licence?
It depends on the terms of the generator you used, and this is worth checking before you distribute anything. Personal remixing and editing are commonly permitted; redistribution of separated parts, or commercial use of a stem in isolation, is where terms tend to narrow. Read the licence for the specific tool you generated with, and if the stem is going into client work, keep a record of which tool and which plan produced it.
Bottom line: export 24-bit WAV, split to four stems, keep the original on a muted reference track, and never judge a stem soloed. Do those four things and the separated version holds up against the mix you started with.